Pinhole Photography
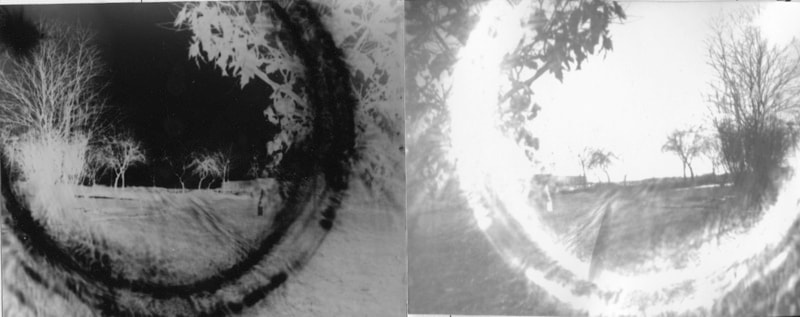
The history of pinhole photography goes hand in hand with the invention of the camera obscura. Used for drawing and architecture, the camera obscura consisted of a box or room with a hole on one side in which light from an external source entered and struck a surface within the enclosure, reproducing an exact image of whatever was in view of the hole, upside down, in color, and in linear perspective. This image was then traced onto paper to create an accurate visual reference.
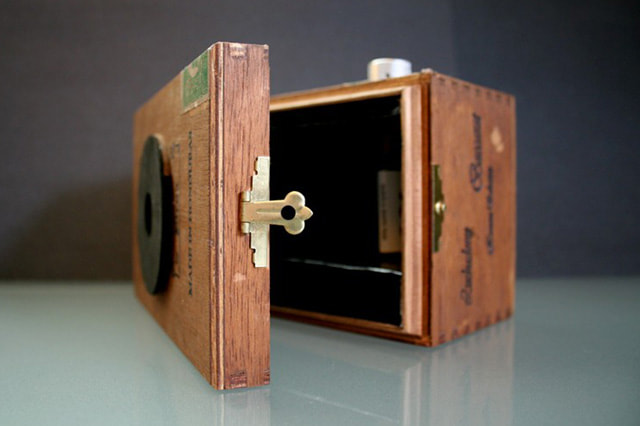
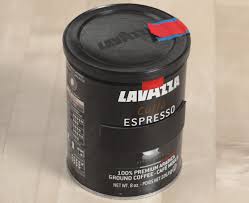
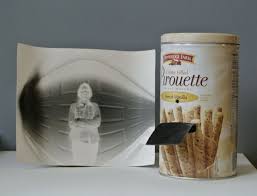
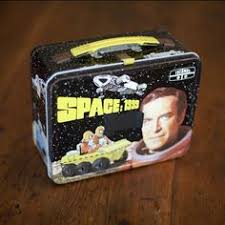
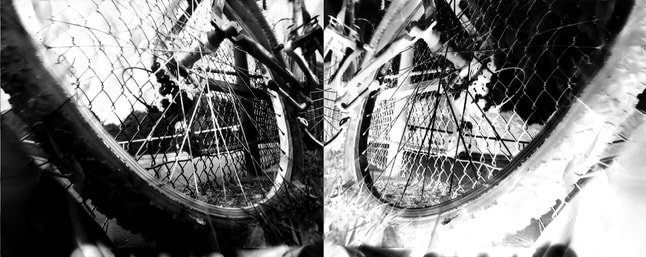
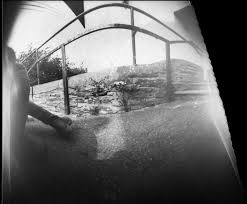
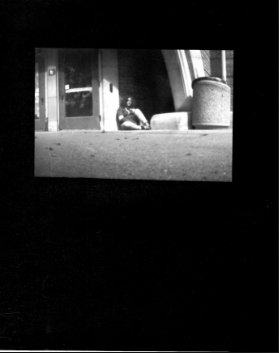
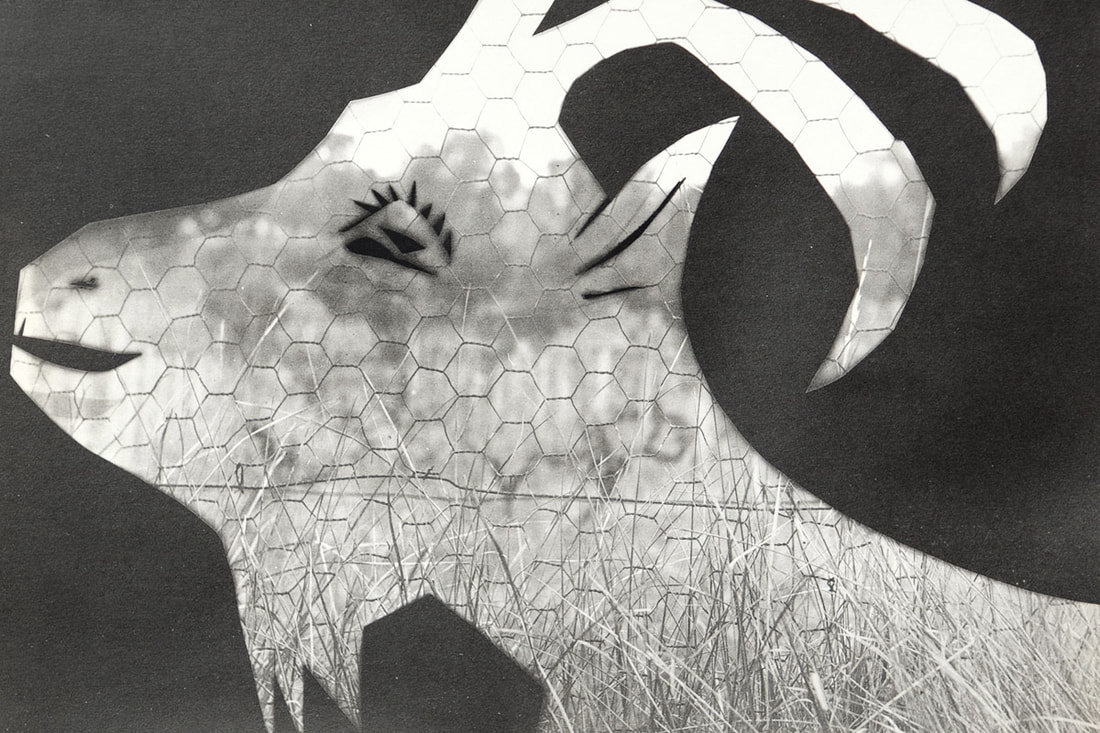
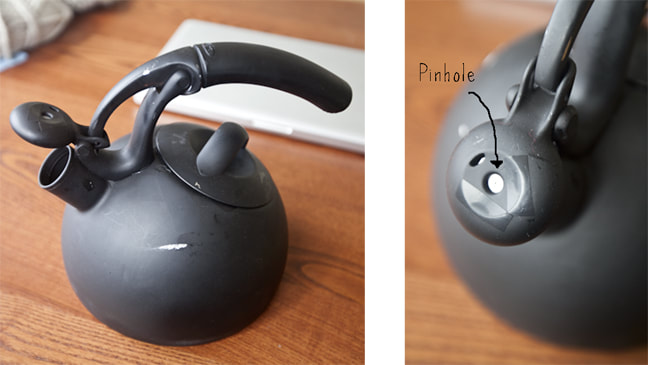
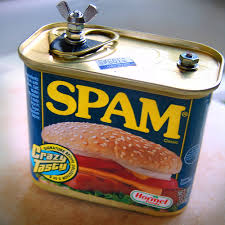
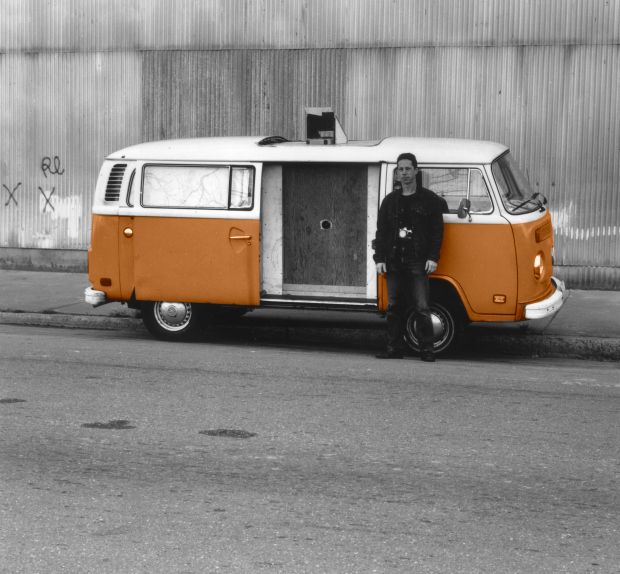
Pretty much anything can be made into a pinhole camera, from a pineapple to a Volkswagen bus. Once you see the process, you'll begin to recognize the creative potential in all kinds of objects that could be turned into working cameras that give a very nostalgic, almost dreamlike quality to the images.
Here are a few examples of some unusual pinhole cameras:
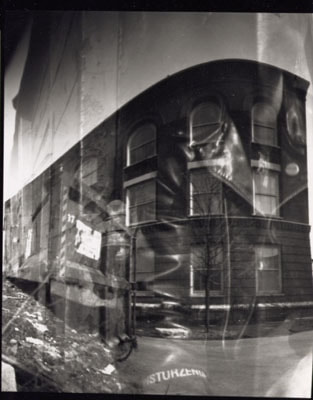
|
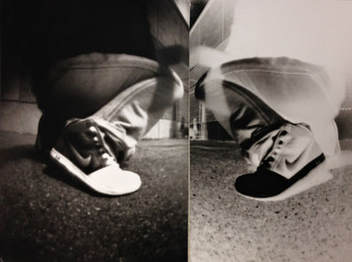
Problem Statement: students will learn the basic functions of an aperture and features of a negative through the construction of a pinhole camera and creation of THREE pinhole photograph positive/negative diptychs using a variety of traditional and experimental darkroom techniques.
HW: Pinhole camera containersMaking Your Pinhole Camera:
Troubleshooting:
Start timing your exposures using this chart:
Artists/Resources: http://www.pinhole.org/, Chris Keeney, Bethany Deforest, Barbara Ess, Ky Lewis |
Materials:
Grading criteriaIdea Generation:
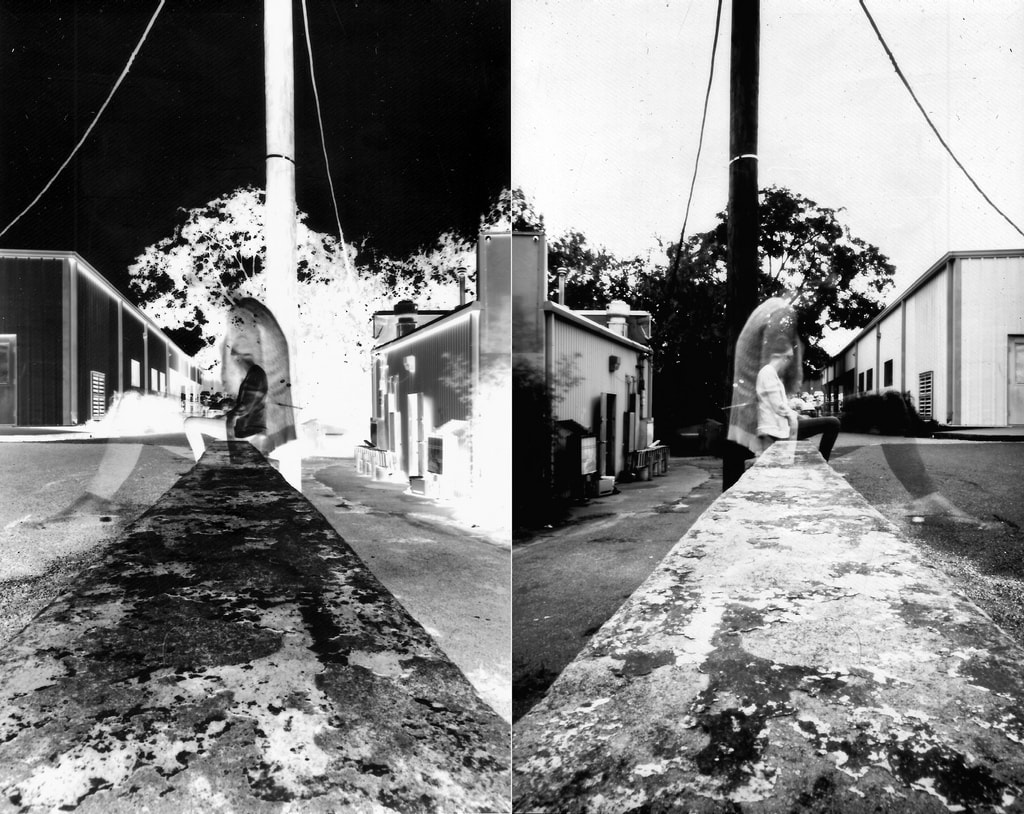
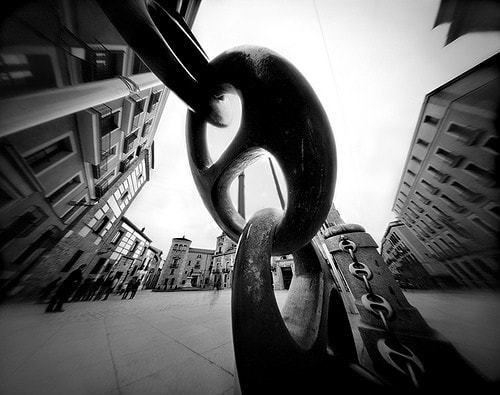
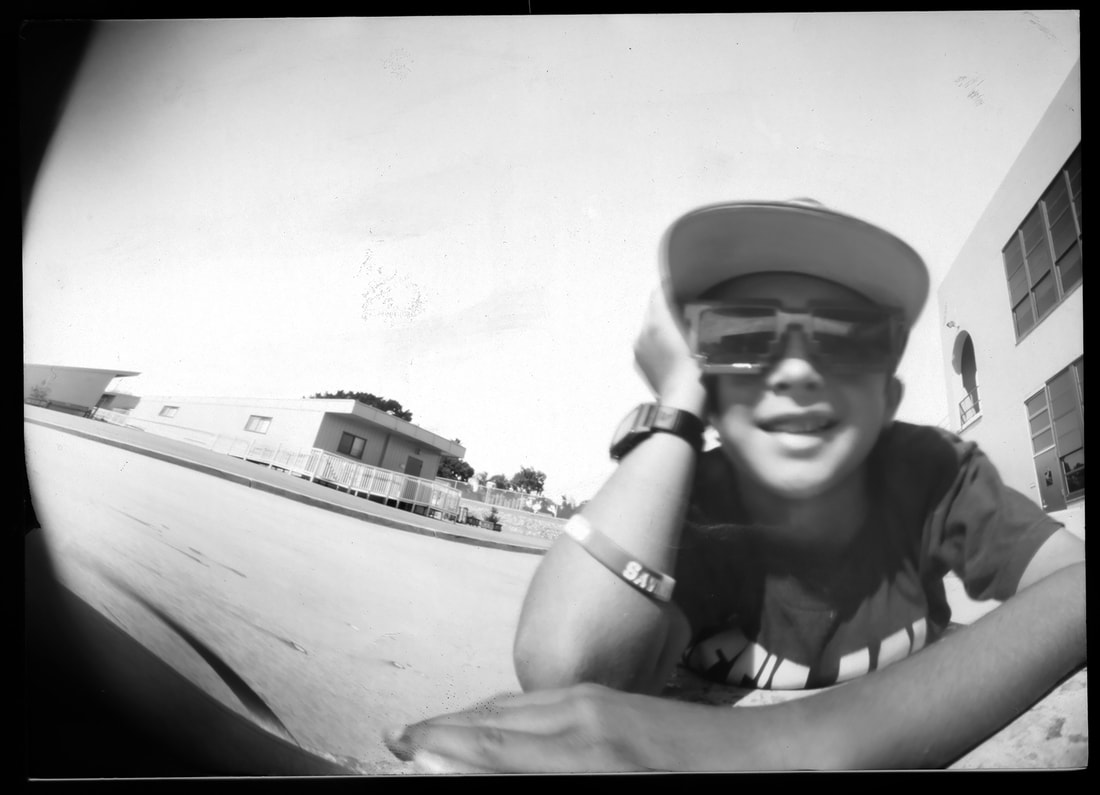
Options for your 2nd and 3rd PHOTOS:Option 1: EXTREME Distortion
Distortion naturally occurs with pinhole photographs. Your distortion photograph needs to be an exaggerated example of distortion. This can include straight lines being bent or proportions being skewed. You can do this by putting your camera close to a subject or line of convergence or bending your paper in your camera. Option 2: Double Exposure
Take 2 photographs on the same paper negative. Be sure to experiment with times. What will happen if your first exposure is 25% of the time and your second exposure is 75% of the time? Option 3: Self Portraits
Use yourself as the subject - To be fully in focus, you must remain VERY still. You may want to consider having someone open and close your shutter for you if your exposure time is short. Option 4: Photogram
Steps:In the darkroom, use objects to create a photogram (do not run it through the chemicals). Load the paper negative into your camera and shoot your image. (You can also reverse steps 1 & 2) |